

Running Node app using Helm Charts inside Kubernetes Cluster
TABLE OF CONTENTS
📍 Introduction:
Why Helm? 🤔
📋 Prerequisites:
Before we begin, make sure you have the following prerequisites in place:
📝 Step 1: Create a Helm Chart
📝 Step 2: Edit values.yaml
🚀 Step 3: Deploy the Helm Chart
📍Conclusion:
📍 Introduction:
In this blog post, we will walk you through the process of deploying a Docker image from Docker Hub using Helm. Helm is a powerful package manager for Kubernetes that allows you to define, install, and upgrade even the most complex Kubernetes applications.
Why Helm? 🤔
Helm solves several challenges in the Kubernetes deployment process:
Package Management: Helm allows you to package your application, including all its dependencies and configurations, into a single unit called a "chart." This simplifies the distribution and installation of complex applications.
Version Control: Helm charts can be versioned and stored in a chart repository, making it easy to manage different versions of your application and rollback to previous versions if needed.
Templating: Helm uses Go templates to generate Kubernetes manifest files dynamically, enabling you to customize deployments for different environments (e.g., development, production) without duplicating code.
Upgrade and Rollback: Helm simplifies the process of upgrading and rolling back applications, ensuring smooth updates and minimizing downtime.
Collaboration: Teams can collaborate more effectively by sharing and reusing Helm charts, reducing the risk of configuration errors.
Real-World Example: Imagine you are managing a microservices-based application with multiple services that need to be deployed and scaled independently. Helm allows you to create charts for each service, define their dependencies, and manage their deployments as a cohesive application. When you need to update a service or roll back to a previous version due to issues, Helm simplifies the process, making your DevOps tasks more efficient and error-free.
Helm is a valuable tool in the DevOps toolbox, streamlining Kubernetes deployments and making it easier to manage complex applications in a containerized environment. 🚢📦🎛️
📋 Prerequisites:
Before we begin, make sure you have the following prerequisites in place:
Kubernetes cluster: You should have a Kubernetes cluster up and running.
Helm: Helm should be installed on your local machine.
      curl https://baltocdn.com/helm/signing.asc | gpg --dearmor | sudo tee /usr/share/keyrings/helm.gpg > /dev/null
      sudo apt-get install apt-transport-https --yes
      echo "deb [arch=$(dpkg --print-architecture) signed-by=/usr/share/keyrings/helm.gpg] https://baltocdn.com/helm/stable/debian/ all main" | sudo tee /etc/apt/sources.list.d/helm-stable-debian.list
      sudo apt-get update
      sudo apt-get install helm
Docker: You need Docker installed on your local machine for building and pushing Docker images.
📝 Step 1: Create a Helm Chart
First, we need to create a Helm chart to define the deployment of our application. Open your terminal and run the following command to create a Helm chart named "node-app":
helm create note-app
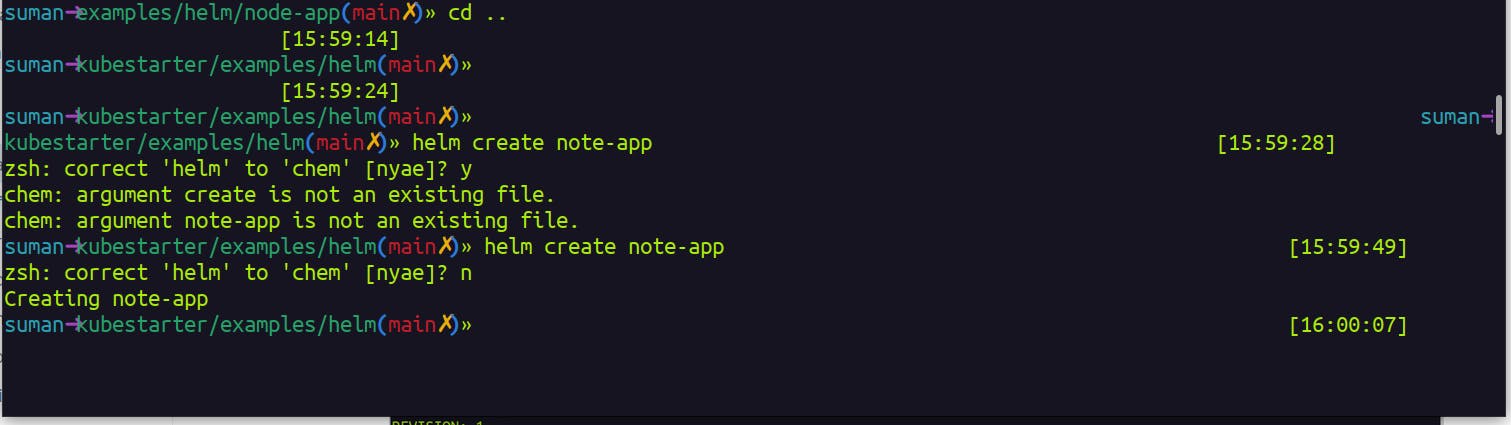
This command generates a directory structure for your Helm chart with default templates and values.
📝 Step 2: Edit values.yaml
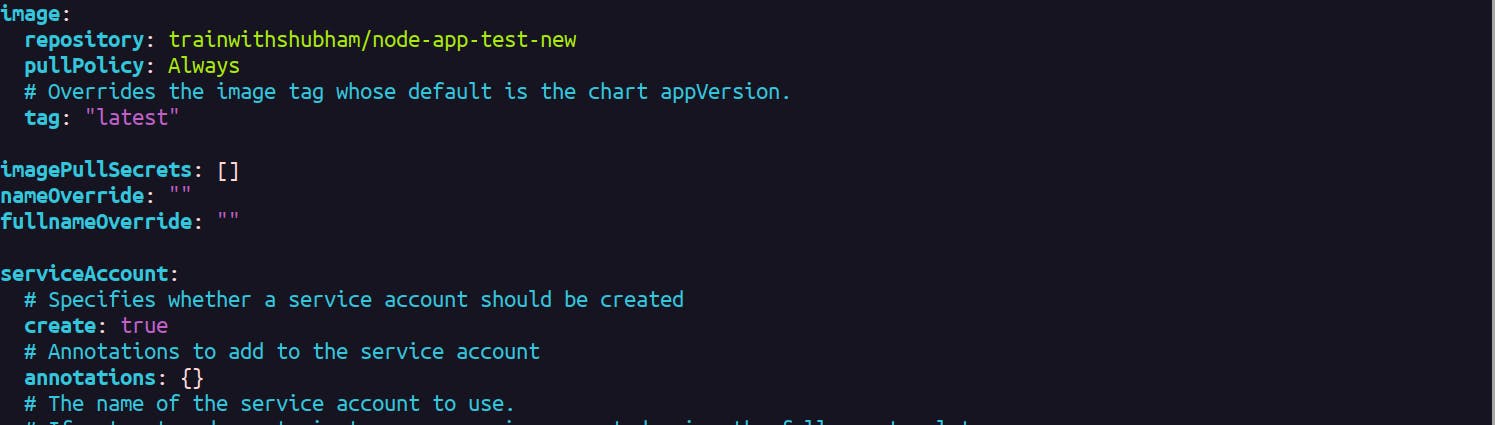
Navigate to the "node-app" directory and open the values.yaml file in your preferred text editor. Update the file to match the specifications you provided in your question:

replicaCount: 2

image:
  repository: trainwithshubham/node-app-test-new
  pullPolicy: Always
  # Overrides the image tag whose default is the chart appVersion.
  tag: "latest"

imagePullSecrets: []
nameOverride: ""
fullnameOverride: ""

serviceAccount:
  # Specifies whether a service account should be created
  create: true
  # Annotations to add to the service account
  annotations: {}
  # The name of the service account to use.
  # If not set and create is true, a name is generated using the fullname template
  name: ""

podAnnotations: {}

podSecurityContext: {}
  # fsGroup: 2000

securityContext: {}
  # capabilities:
  #   drop:
  #   - ALL
  # readOnlyRootFilesystem: true
  # runAsNonRoot: true
  # runAsUser: 1000

service:
  type: NodePort
  port: 8000
  targetPort: 8000
  nodePort: 30012

ingress:
  enabled: false
  className: ""
  annotations: {}
    # kubernetes.io/ingress.class: nginx
    # kubernetes.io/tls-acme: "true"
  hosts:
    - host: chart-example.local
      paths:
        - path: /
          pathType: ImplementationSpecific
  tls: []
  #  - secretName: chart-example-tls
  #    hosts:
  #      - chart-example.local

resources: {}
  # We usually recommend not to specify default resources and to leave this as a conscious
  # choice for the user. This also increases chances charts run on environments with little
  # resources, such as Minikube. If you do want to specify resources, uncomment the following
  # lines, adjust them as necessary, and remove the curly braces after 'resources:'.
  # limits:
  #   cpu: 100m
  #   memory: 128Mi
  # requests:
  #   cpu: 100m
  #   memory: 128Mi

autoscaling:
  enabled: false
  minReplicas: 1
  maxReplicas: 4
  targetCPUUtilizationPercentage: 50
  # targetMemoryUtilizationPercentage: 80

nodeSelector: {}

tolerations: []

affinity: {}
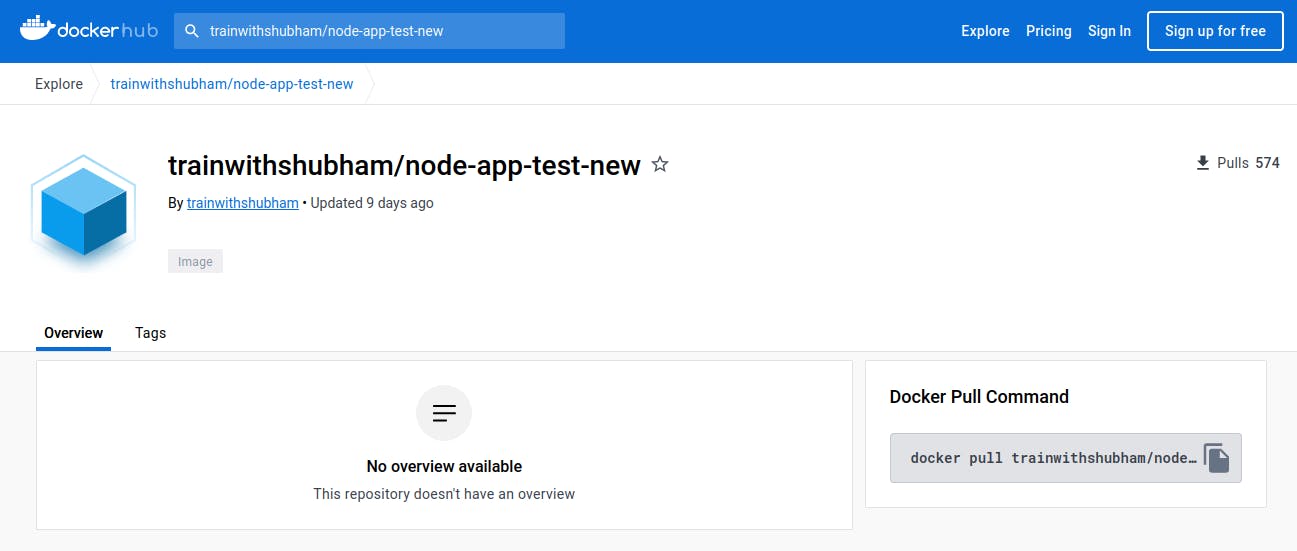
This configuration specifies the number of replicas, Docker image details, and service specifications for your application.

🚀 Step 3: Deploy the Helm Chart
Now that our Helm chart is configured, we can deploy our application to the Kubernetes cluster. Use the following command:
helm install note-app ./note-app
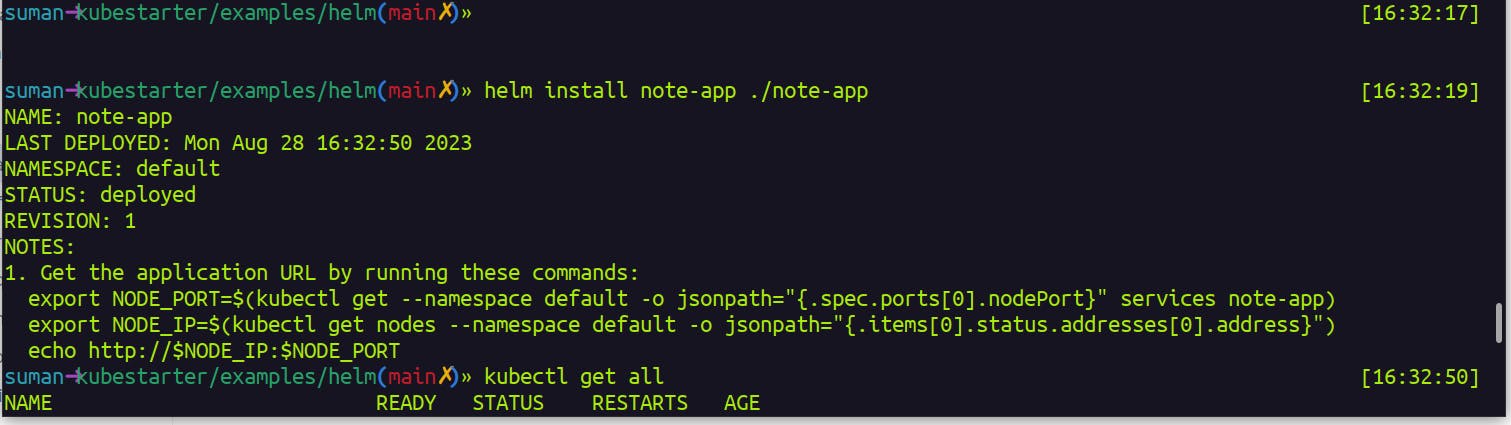
This command deploys the "node-app" Helm chart to your Kubernetes cluster. Helm will create all the necessary Kubernetes resources based on the configuration in your chart.

🔍 Step 4: Verify the Deployment To verify that your application has been deployed successfully, you can run the following command to list all the deployments in your cluster:
kubectl get deployments
or
kubectl get all
You should see the "node-app" deployment listed with the desired number of replicas.
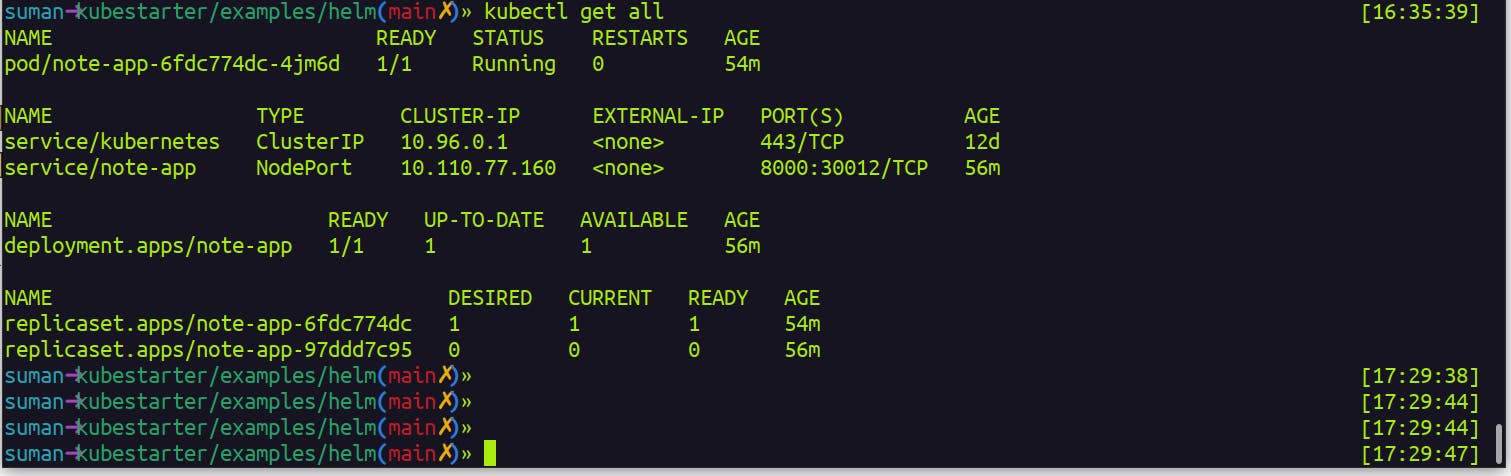
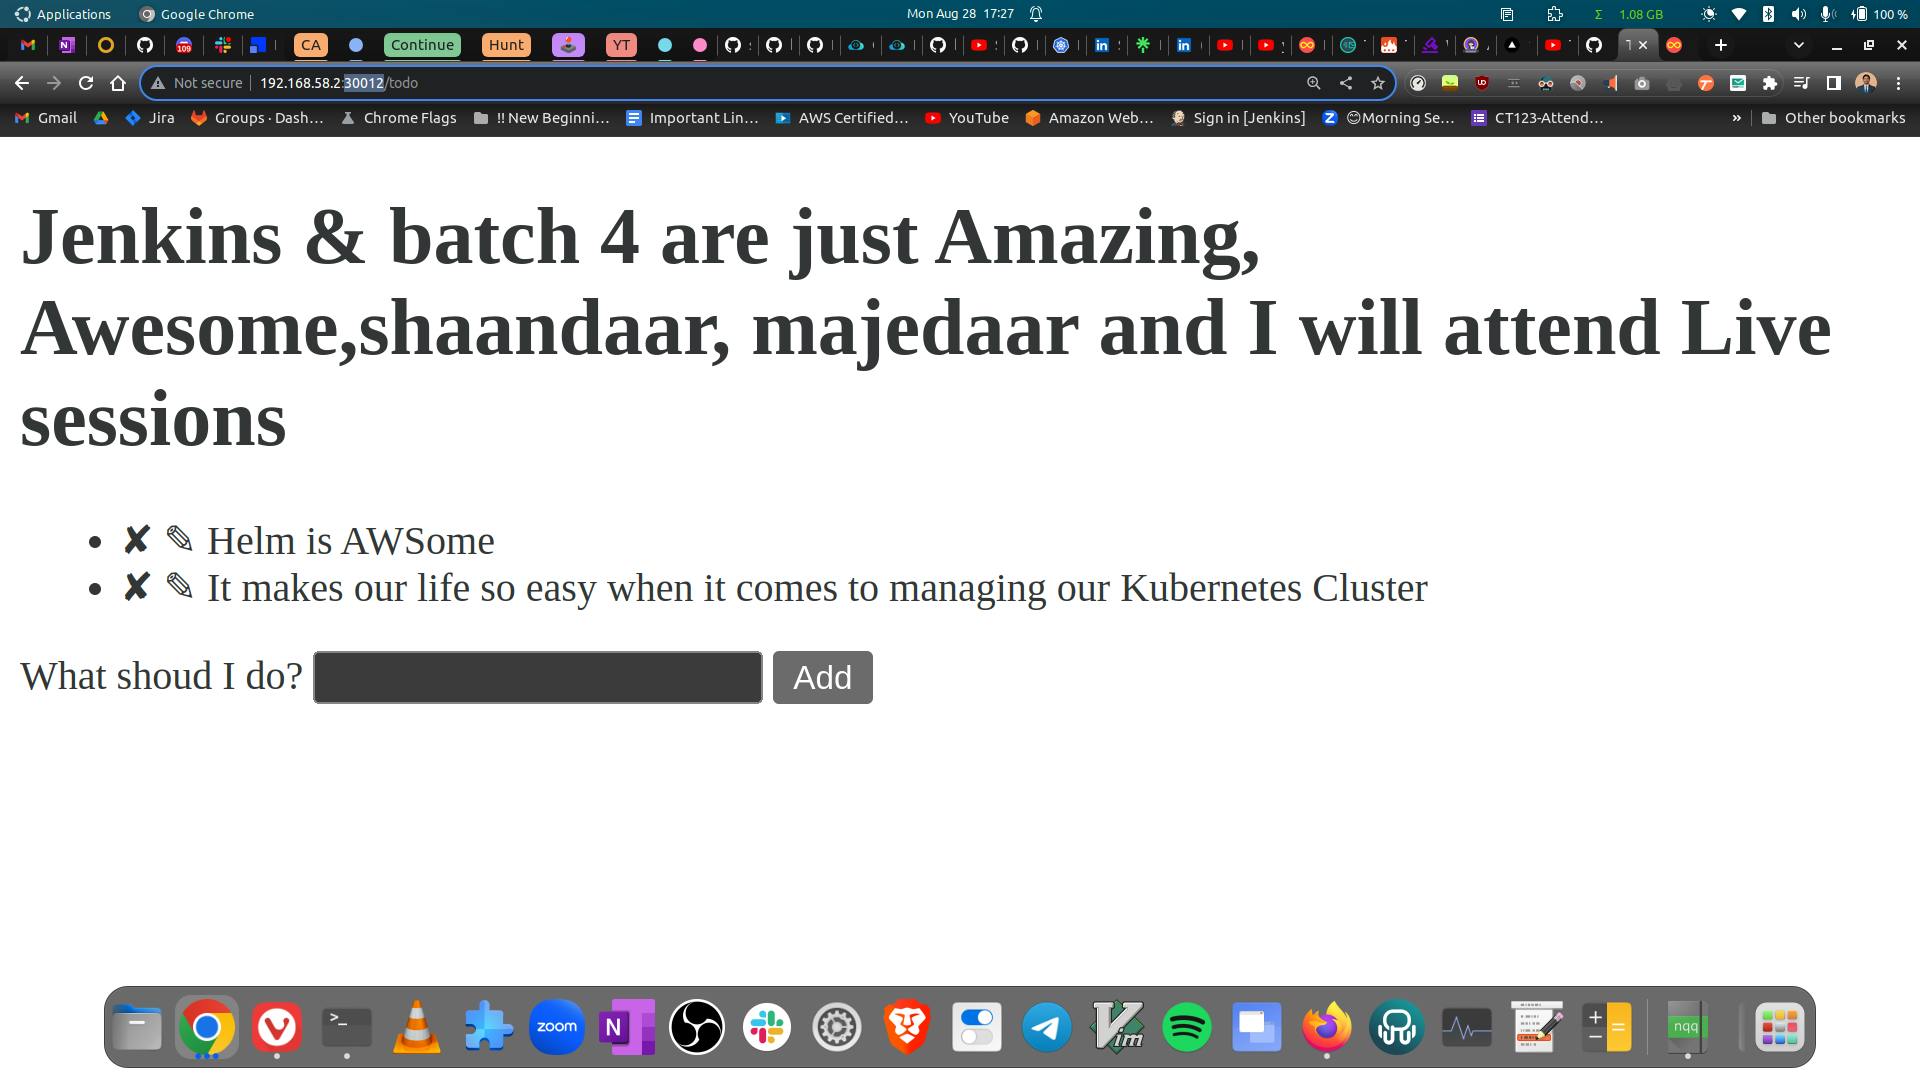
🌐 Step 5: Access Your Application To access your application, you can use the NodePort service you defined in the values.yaml file. Find the NodePort assigned to your service:
kubectl get svc

Locate the "node-app" service and note the port under "PORT(S)". You can now access your application using your Kubernetes cluster's IP address and the NodePort.
🎉 Congratulations! You have successfully deployed a Docker image from Docker Hub using Helm. Helm makes it easy to define and manage complex Kubernetes deployments, making it an essential tool for DevOps engineers working with Kubernetes.
📍Conclusion:
In this guide, we've taken you through the step-by-step process of deploying a Docker image from Docker Hub using Helm. Helm, with its powerful package management capabilities, simplifies the deployment and management of applications in Kubernetes. Here's a recap of what we've covered:
Prerequisites: We ensured you have a Kubernetes cluster, Helm installed, and Docker set up on your local machine.
Creating a Helm Chart: We started by creating a Helm chart named "node-app." Helm charts are essential for defining and packaging Kubernetes applications.
Editing values.yaml: We customized the configuration in the
values.yamlfile to specify details about the application, including the Docker image, replica count, and service settings.Deploying the Helm Chart: With the Helm chart configured, we deployed the application to the Kubernetes cluster using the
helm installcommand.Verification: We confirmed the successful deployment by checking the status of the Kubernetes deployment and services.
Accessing Your Application: We explained how to access your application using the NodePort service defined in the chart.
Helm simplifies complex Kubernetes deployments by offering package management, version control, templating, and easy upgrade and rollback capabilities. It streamlines collaboration among teams, making it a valuable tool for DevOps engineers managing containerized applications.
